Create an invoice
Creating an invoice in Conta is super easy! This is how you do it.
Creating an invoice in Conta is super easy! This is how you do it.
You can watch this video to see how to make an invoice:
Step-by-step guide
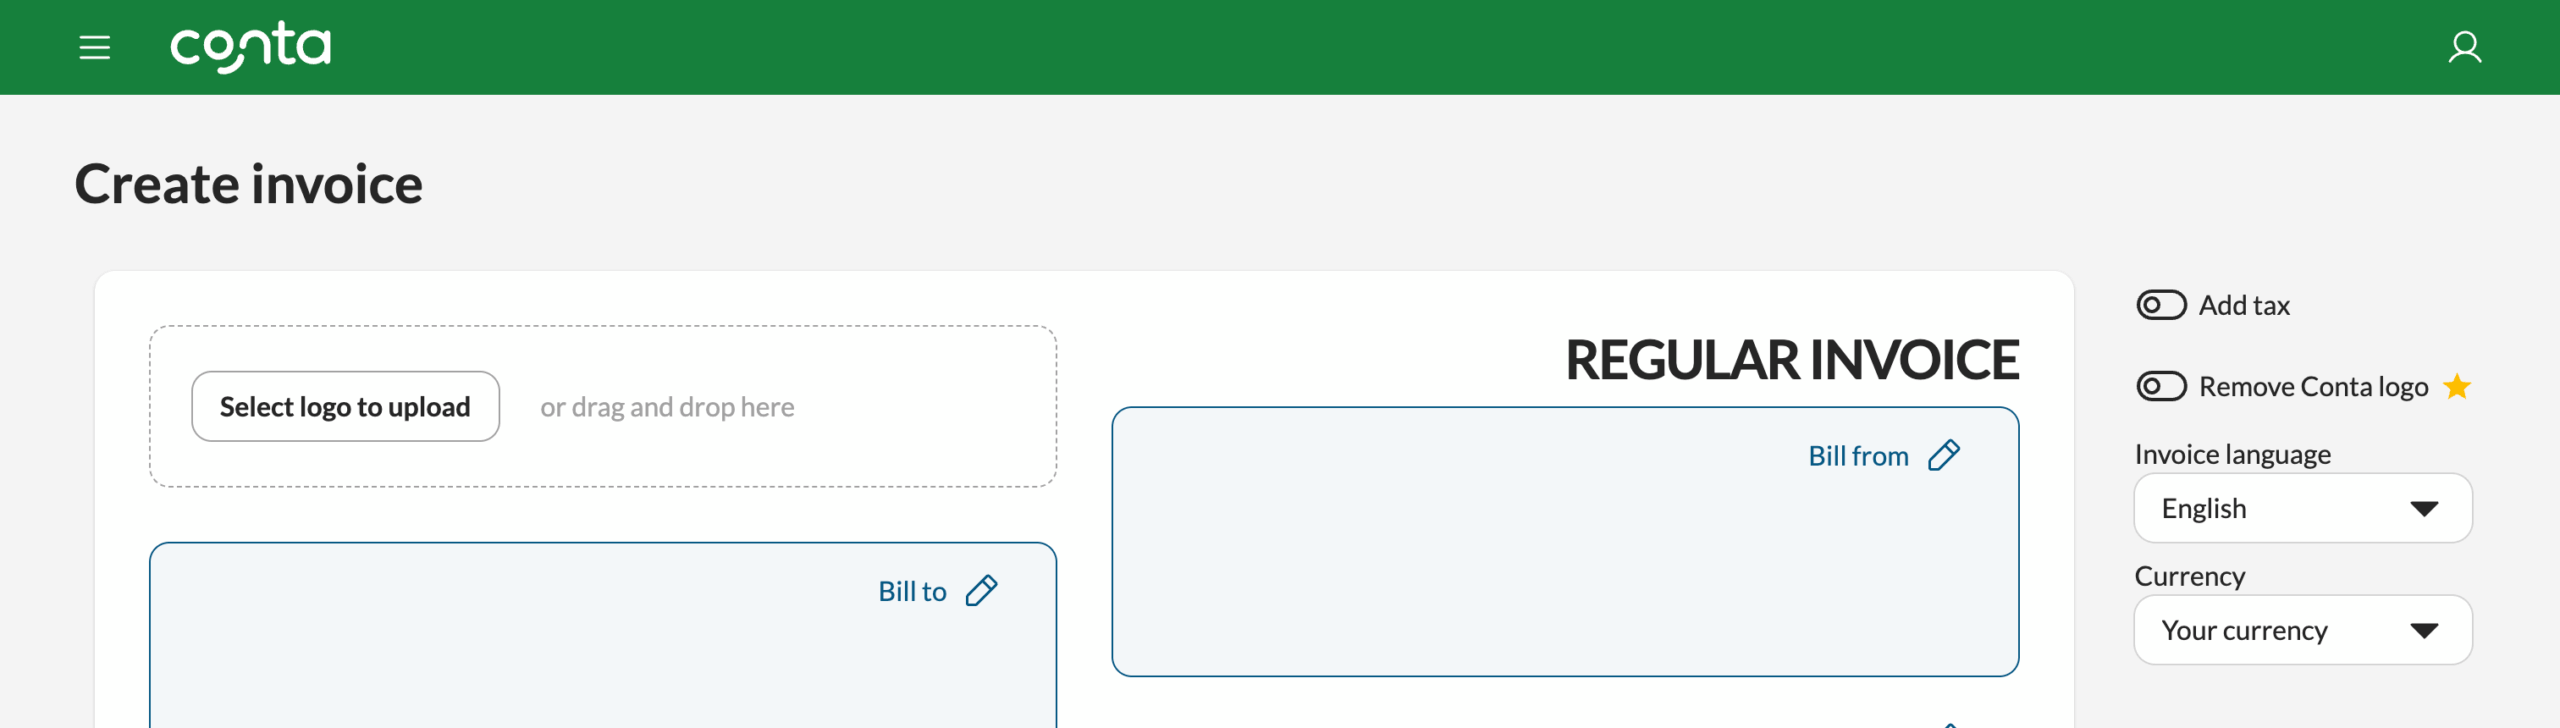
Once you’re ready to invoice a client, log in to Conta. You’ll see the invoice creator immediately:
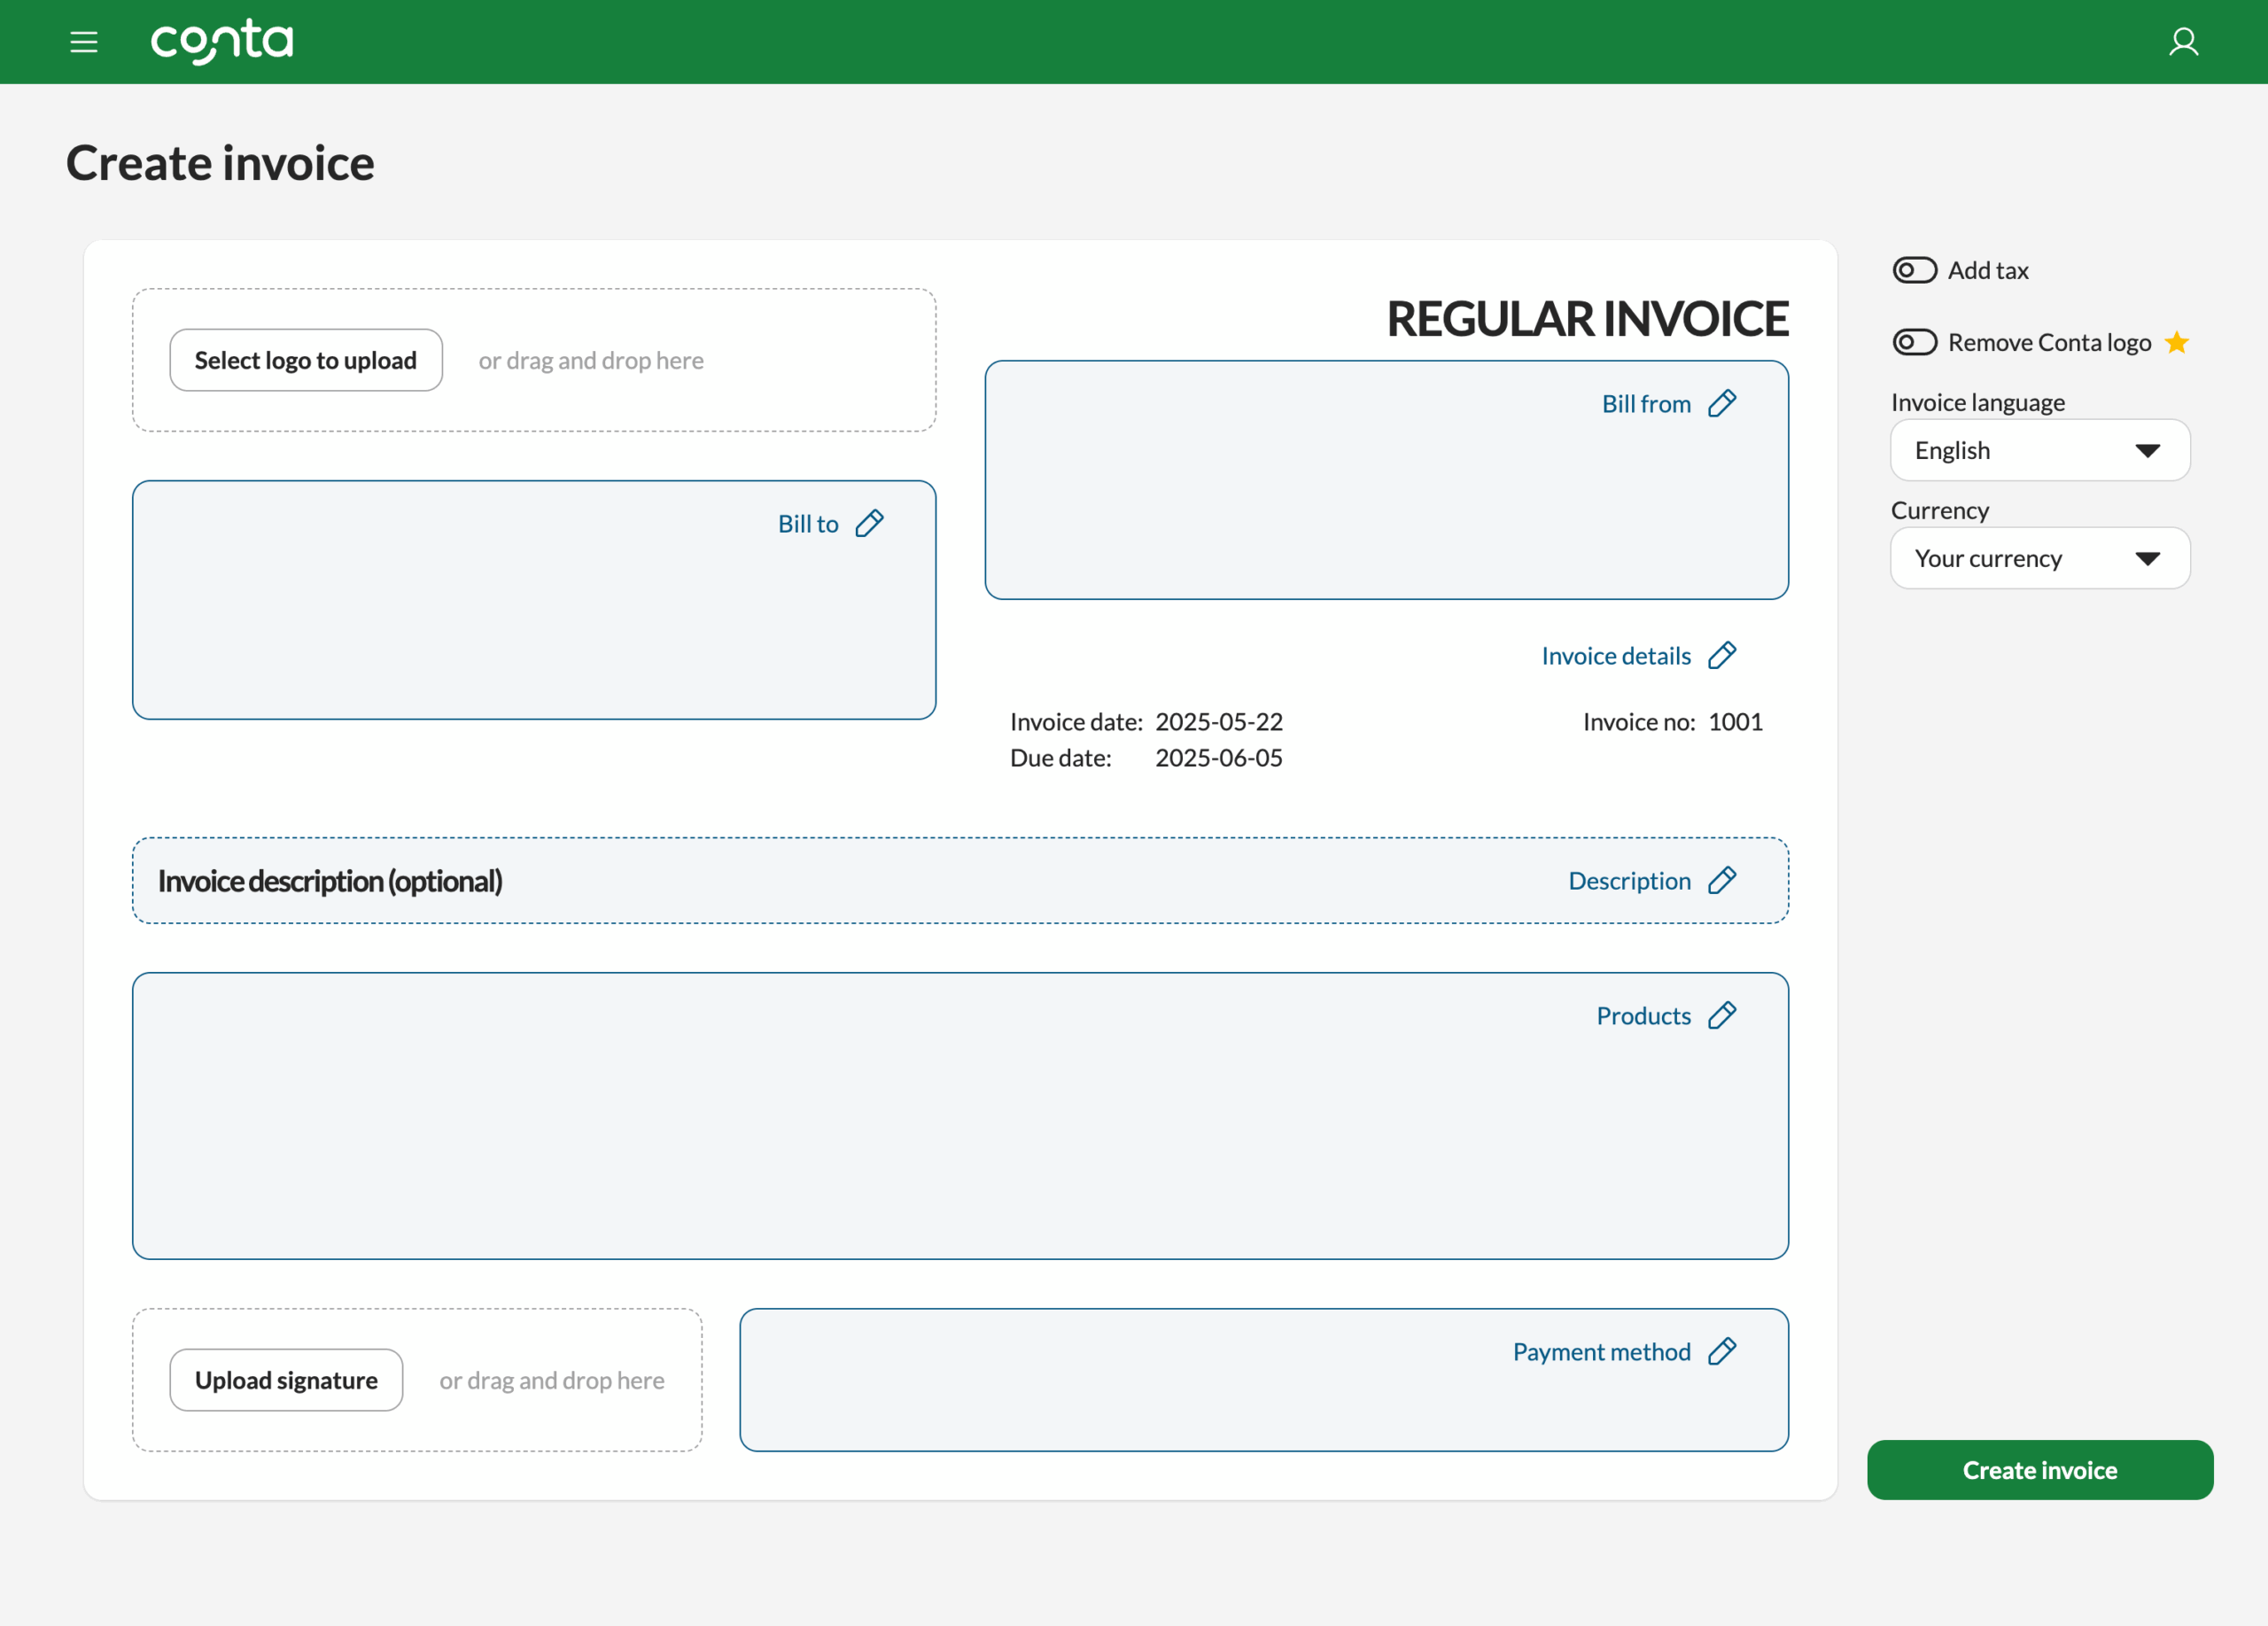
Conta will help you add the necessary information to your invoice.
Bill to
Click on Bill to to enter your client details:
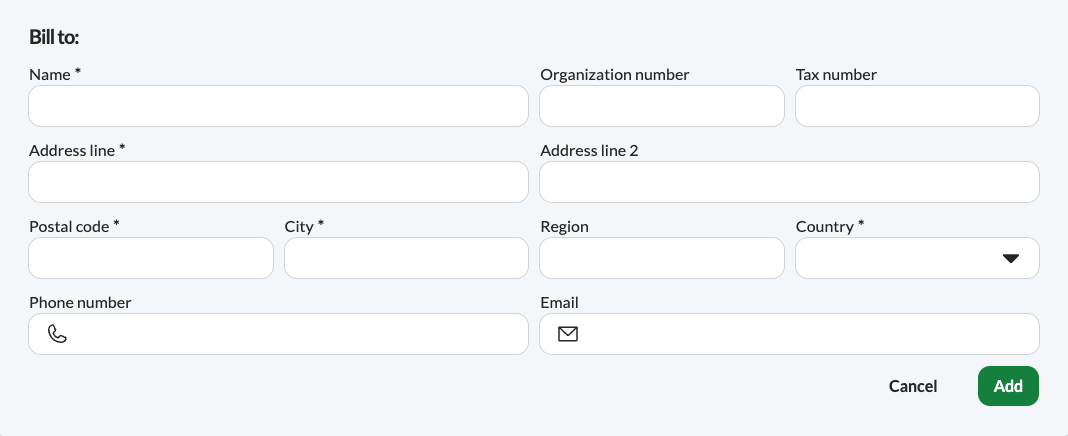
The details will be saved for next time, so you don’t have to reenter the same information when invoicing the same client. If you want to change the client details after sending the invoice, go to the client register.
Bill from
Click on Bill from to enter your business details or your contact details. These details will be saved and automatically added to your future invoices:
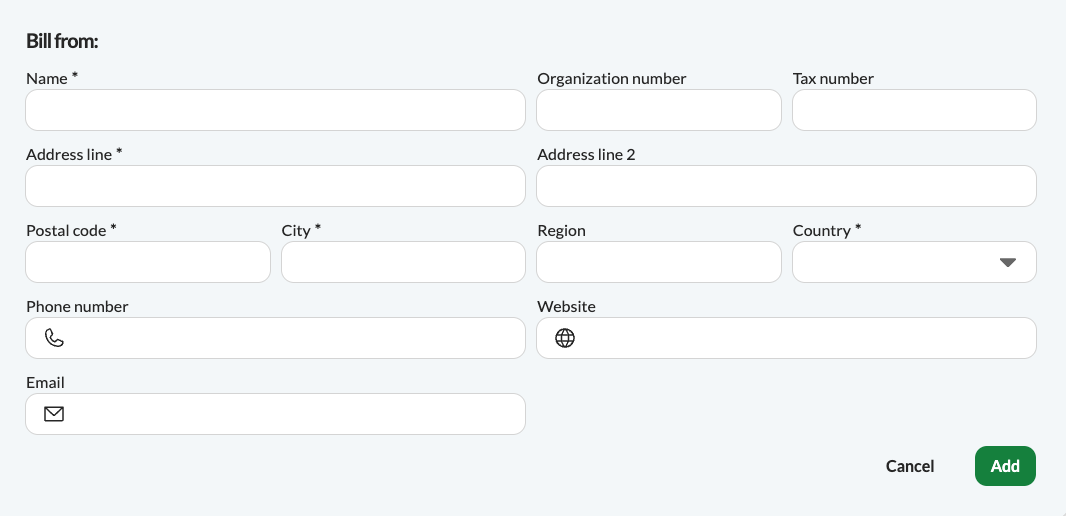
If you want to change your business details after sending the invoice, go to your business settings.
Invoice date and due date
The invoice date is the date you invoice the client for the goods or services. The due date is the deadline for the client to pay you.
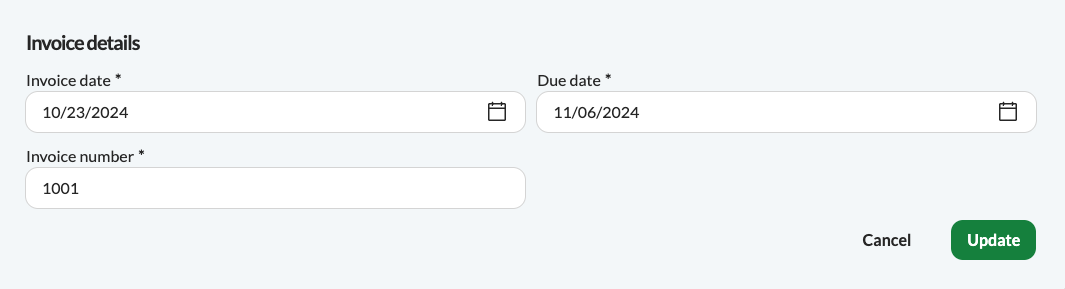
What does invoice number mean?
Each invoice must be assigned a unique invoice number in ascending order without any gaps in the sequence. Conta ensures you meet those requirements, but you have to set your starting number.
If you’ve not sent any invoices before, you can leave the invoice number as 1001 or set it to whatever starting number you want. If you’ve sent invoices before, check the number on your last invoice. Your first invoice number in Conta should be one higher. If your last invoice was 2000, you should enter 2001 in Conta.
Add products
To add a product, click on Products or services and enter the product name, the unit price and the quantity, as well as the discount, and sales tax, if applicable. 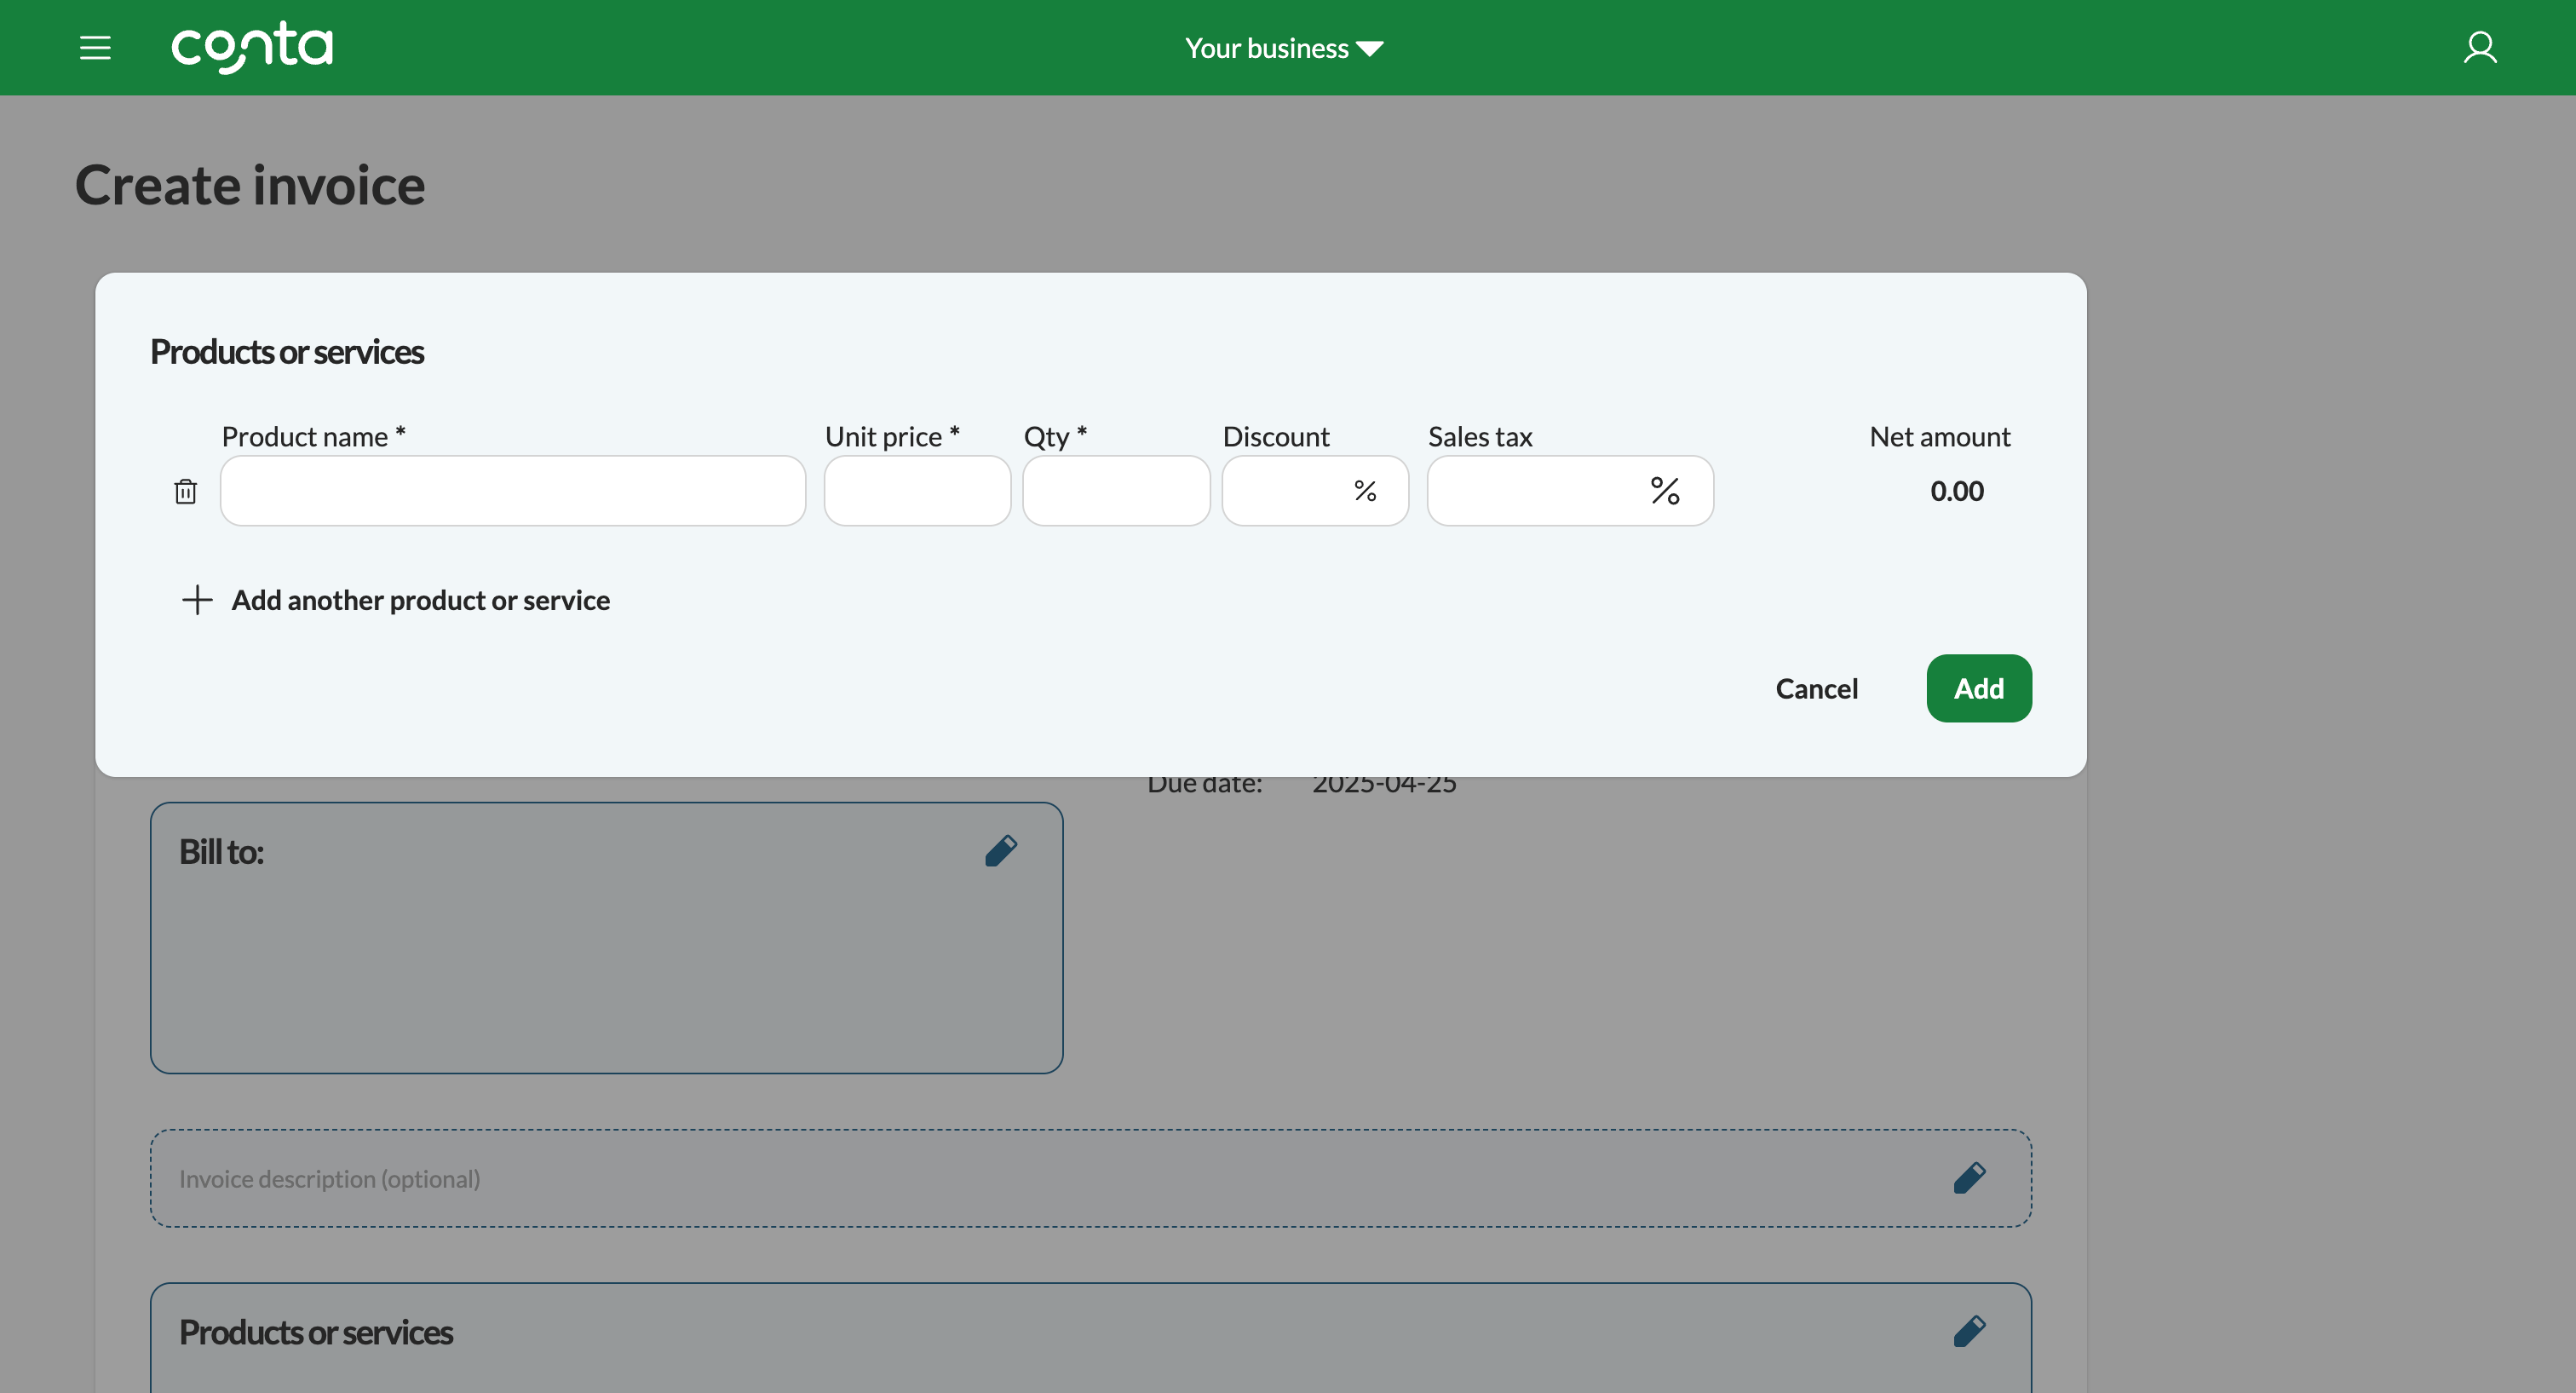
Whether you need to add sales tax, depends on which state you’re operating in, and it can also depend on what you’re selling. You should check what applies to you, or speak to an accountant, if you want help with tax.
The product or service will be saved, so that you can easily reuse it on your future invoices.
Click ADD ANOTHER PRODUCT OR SERVICE to add more line items to your invoice. You can add as many products to an invoice as you want.
If you want to edit the product after sending the invoice, go to the product catalog.
To add a product, click on Products or services and enter the product name, the unit price, the quantity, and the tax rate, if you’re making a tax invoice. Whether you need to add value-added tax (VAT) or goods and services tax (GST) to your invoices depends on where your business is located, and what you’re selling.
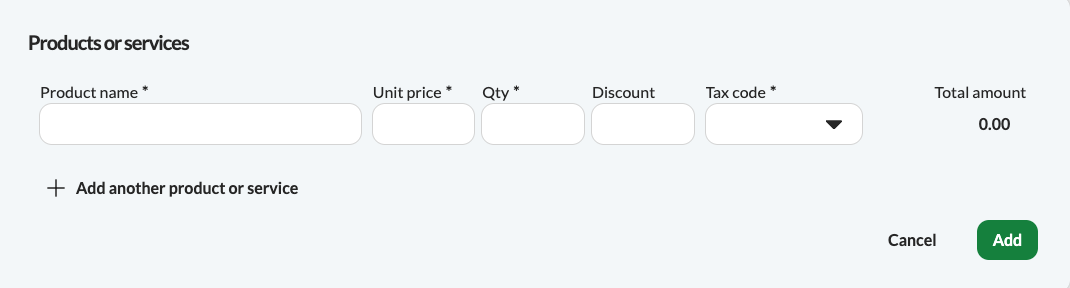
The product or service will be saved, so that you can easily reuse it on your future invoices.
Click ADD ANOTHER PRODUCT OR SERVICE to add more line items to your invoice. You can add as many products to an invoice as you want.
If you want to edit the product after sending the invoice, go to the product catalog.
Payment method
Click on Payment method to add your payment details to the invoice. This will let your client know how to pay you:
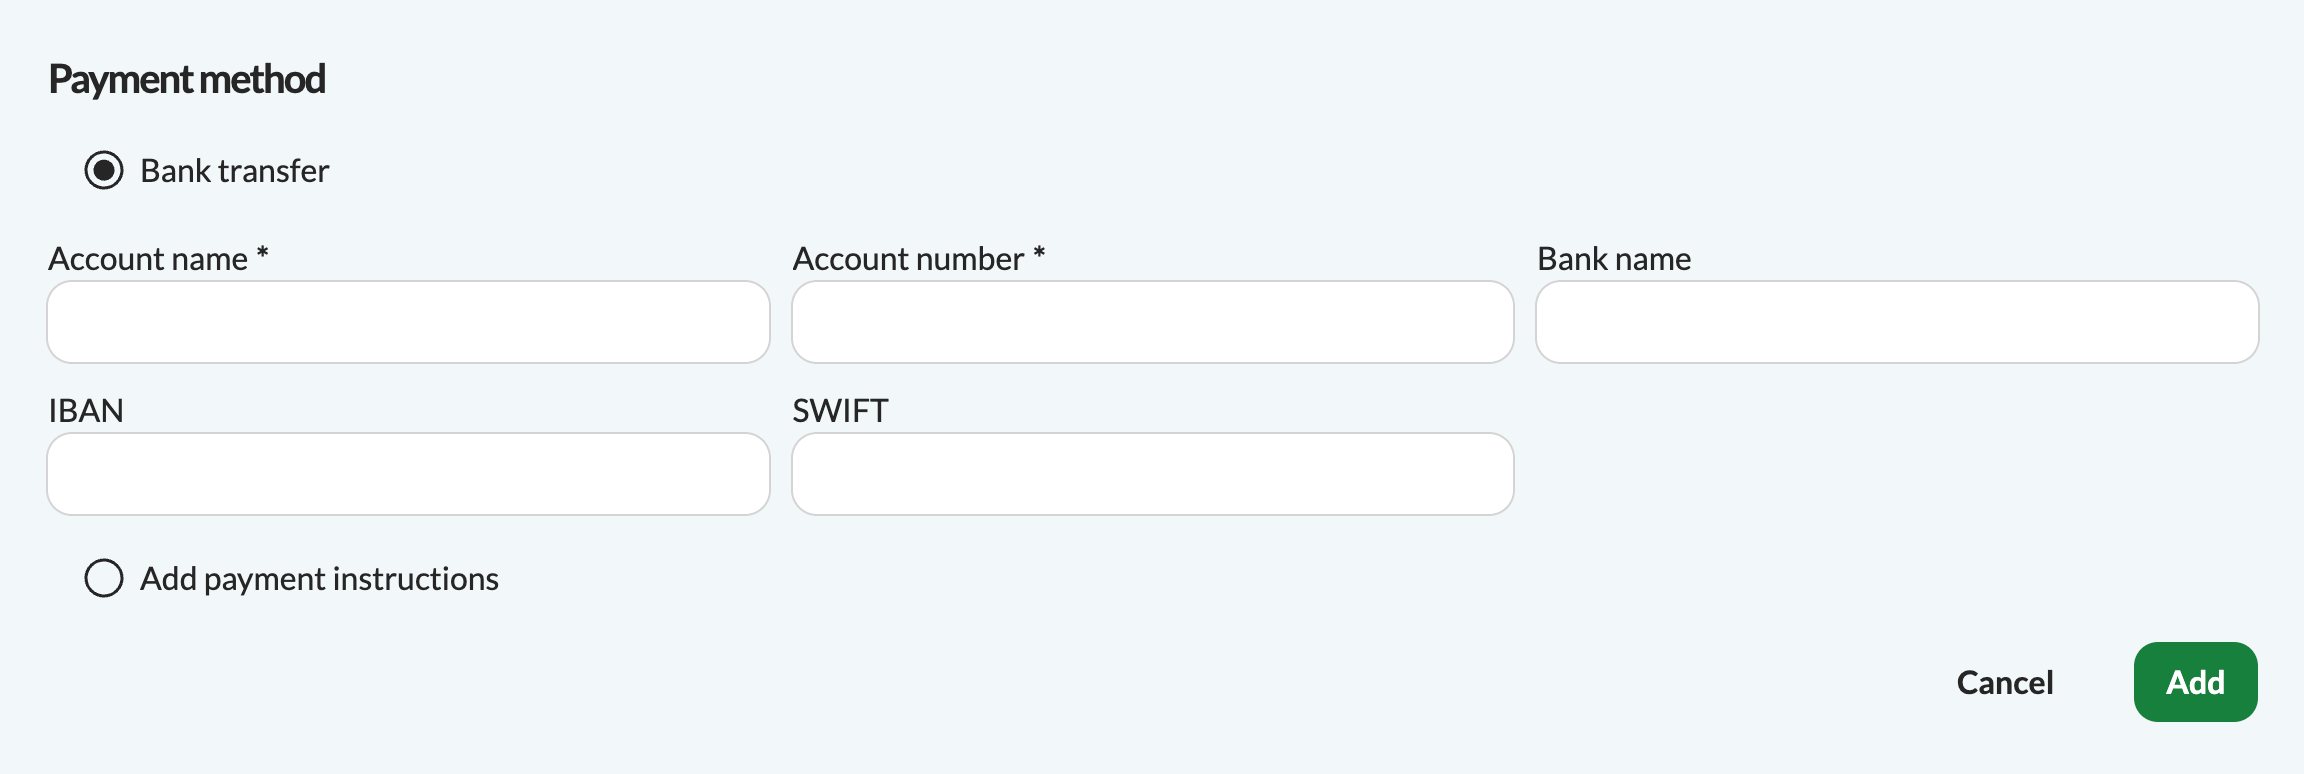
You can either enter bank transfer information or you can tick Add payment instructions to enter your own payment instructions or a link to a payment gateway:
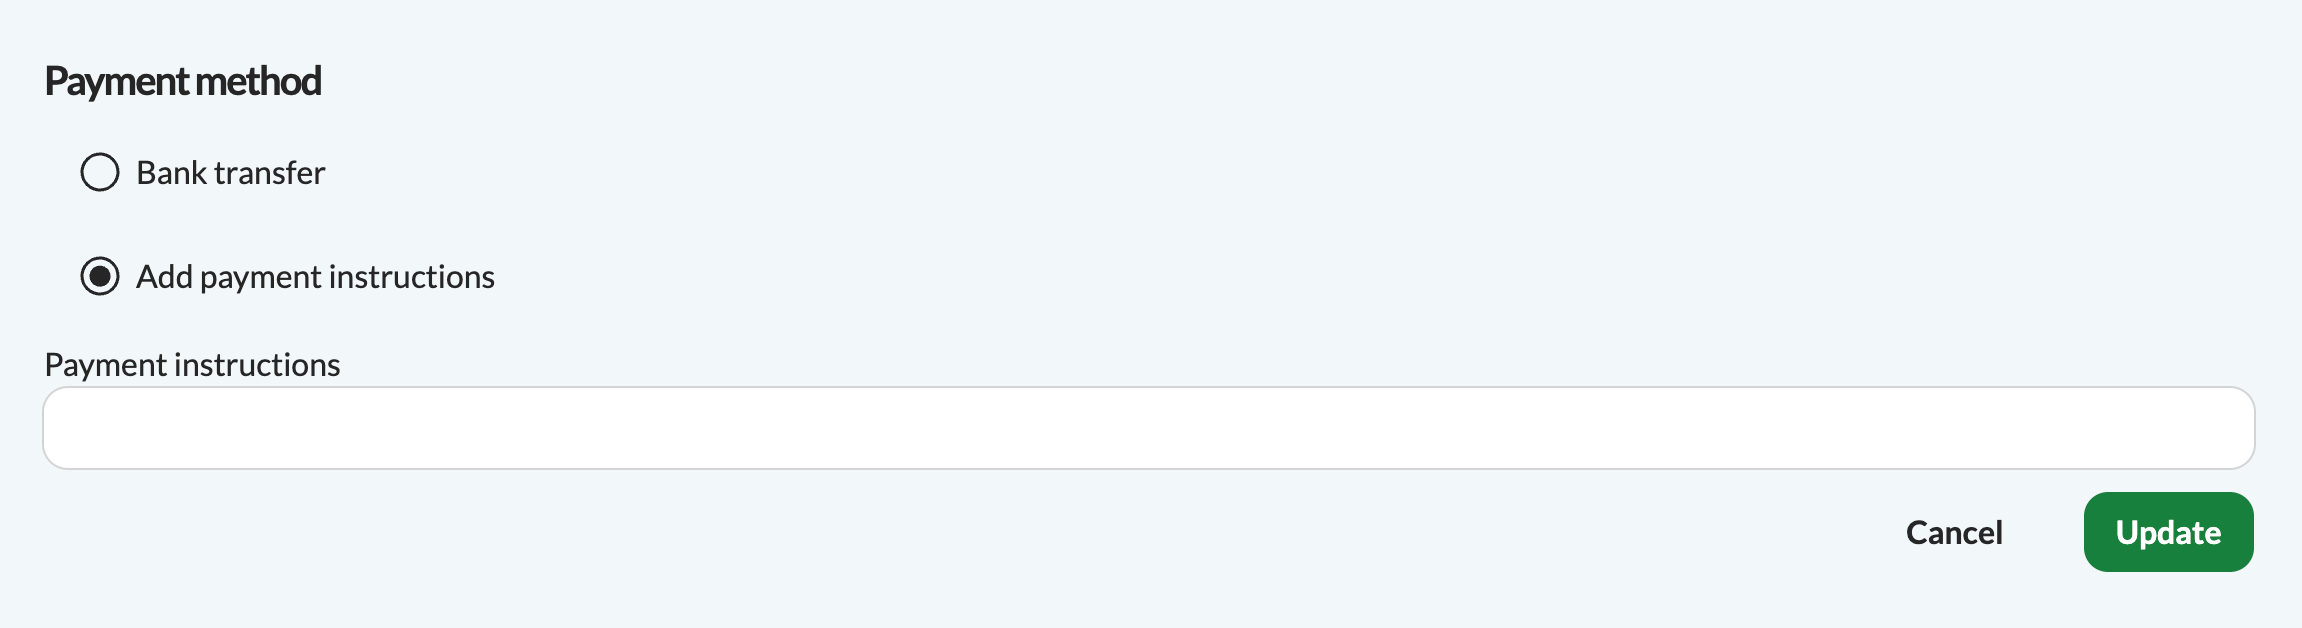
If you use bank account transfer, we’ll save the payment details and reuse them on your future invoices. If you want to change the bank account details or add another bank account, go to your business settings.
Add logo
You can upload your business logo by clicking Select logo to upload or by dragging and dropping the logo in the top left corner. The recommended resolution is 500×230 pixels and maximum 2MB. The file can be JPG, JPEG, PNG and SVG.
Read more about how to upload a logo.
Add signature
You can upload your signature to the invoice by clicking Upload signature or by dragging and dropping the signature in the bottom left corner. The recommended resolution is 230×95 pixels and maximum 2MB. The image can be a JPG, JPEG, PNG and SVG. Max 2MB.
Read more about how to upload a signature.
Change currency
Need to invoice in another currency? No problem: Click on the dropdown on the right of your invoice to change the currency. You can choose from all excisting currencies.
Note that this currency is only for this particular invoice.
Read more about how to change the currency.
Change language
With Conta, you can create invoices in English and Spanish. Simply click on the dropdown on the right-hand side of the screen to change the invoice language to Spanish:
If you create the invoice in Spanish, the email to your client will also be in Spanish. Note that this change only applies to this particular invoice.
Read more about how to change the language on your invoices.
Ready to send the invoice? This is how to easily send an invoice from Conta.