
Add a logo to your invoices
It's easy to add your logo to the invoices that you create in Conta. This is how you do it.
It’s easy to add your logo to the invoices that you create in Conta. This is how you do it.
Add a logo when you create an invoice
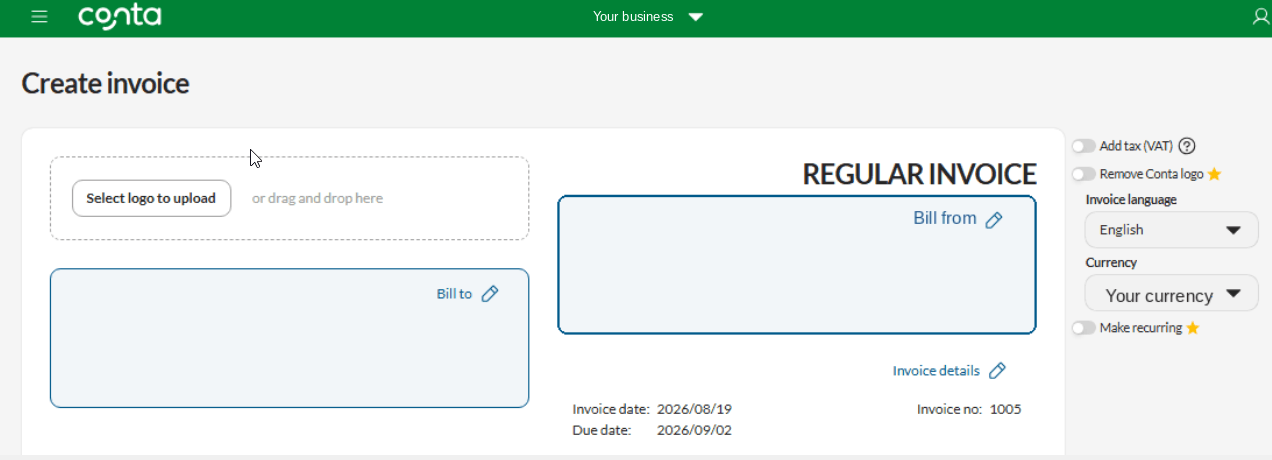
You can upload your logo when you make your first invoice by clicking Select logo to upload or by dragging and dropping the logo in the top-left corner of your invoice:
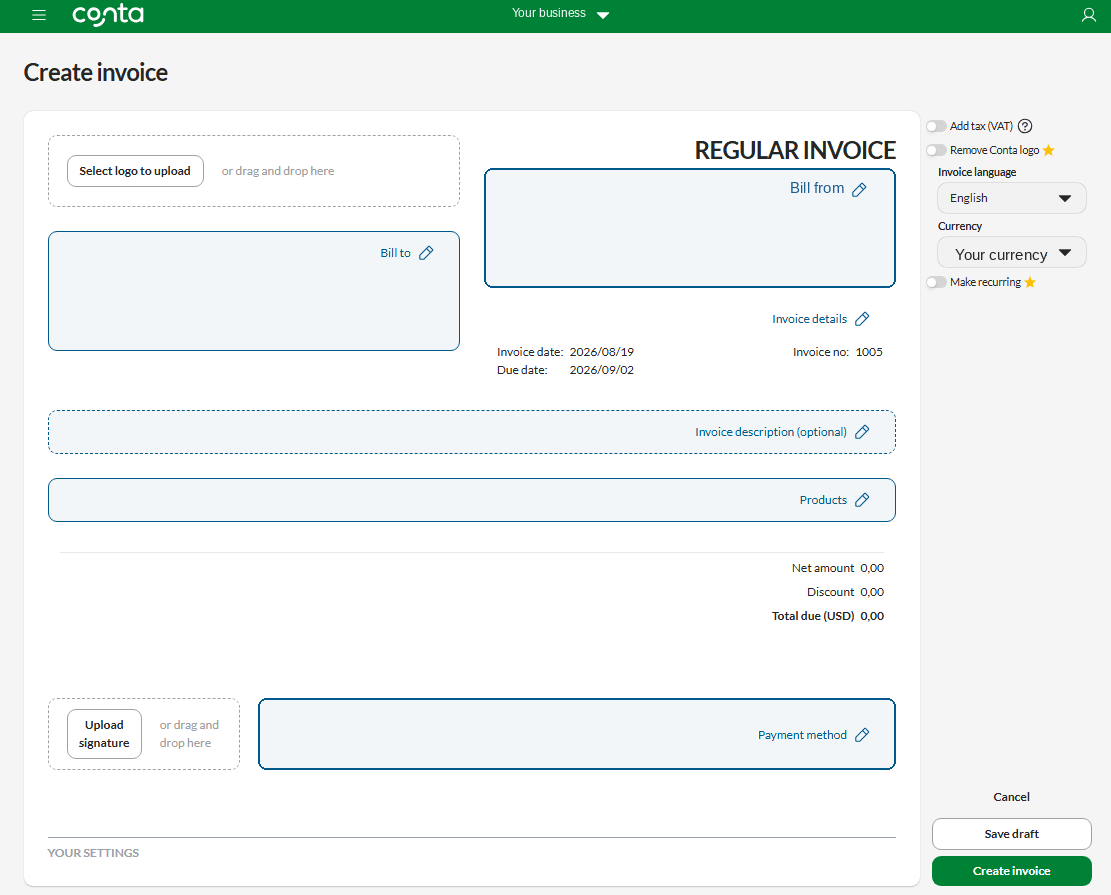
The logo will be added to all your invoices going forward.
Add a logo in your settings
You can also add your logo to Conta, by going to your Business settings:

Then click on Document settings:
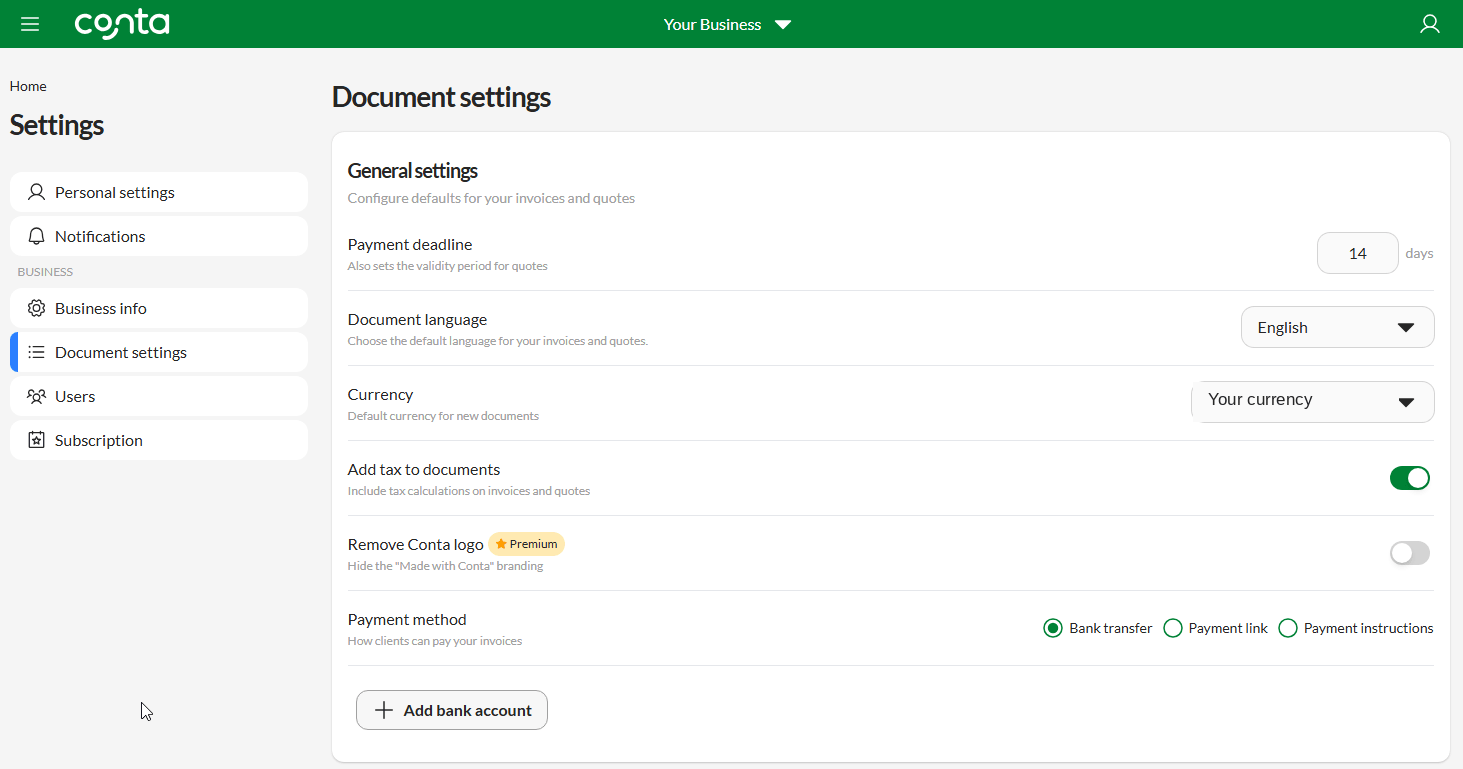
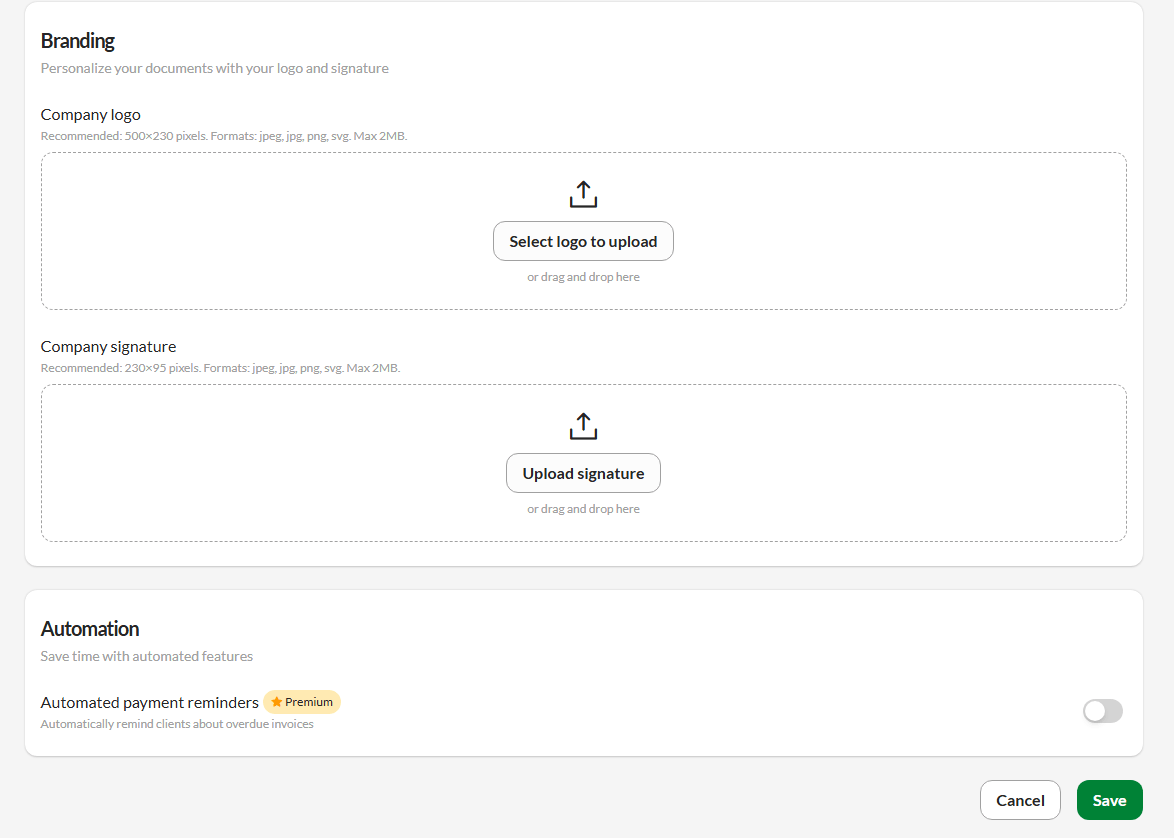
When in Document settings, scroll down and Select logo to upload or by drag and drop. Then Save.
How can I change my logo?
Once you’ve uploaded a logo that logo will be added to all your future invoices. To change or remove the logo, you can click on the trash can icon next to your logo when you’re making your invoice:
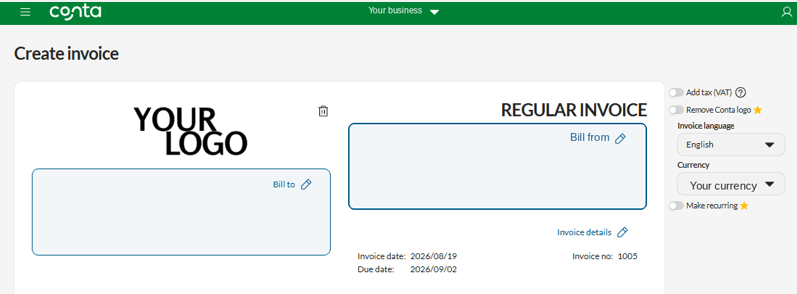
You can then create an invoice without a logo or upload a new logo. If you upload a new logo, that logo will be added to all your future invoices.
Edit your logo in your settings
To change or to permanently delete your logo, go to your Business settings:
Then click on Documents settings and scroll down . You should see it under Branding > Company logo
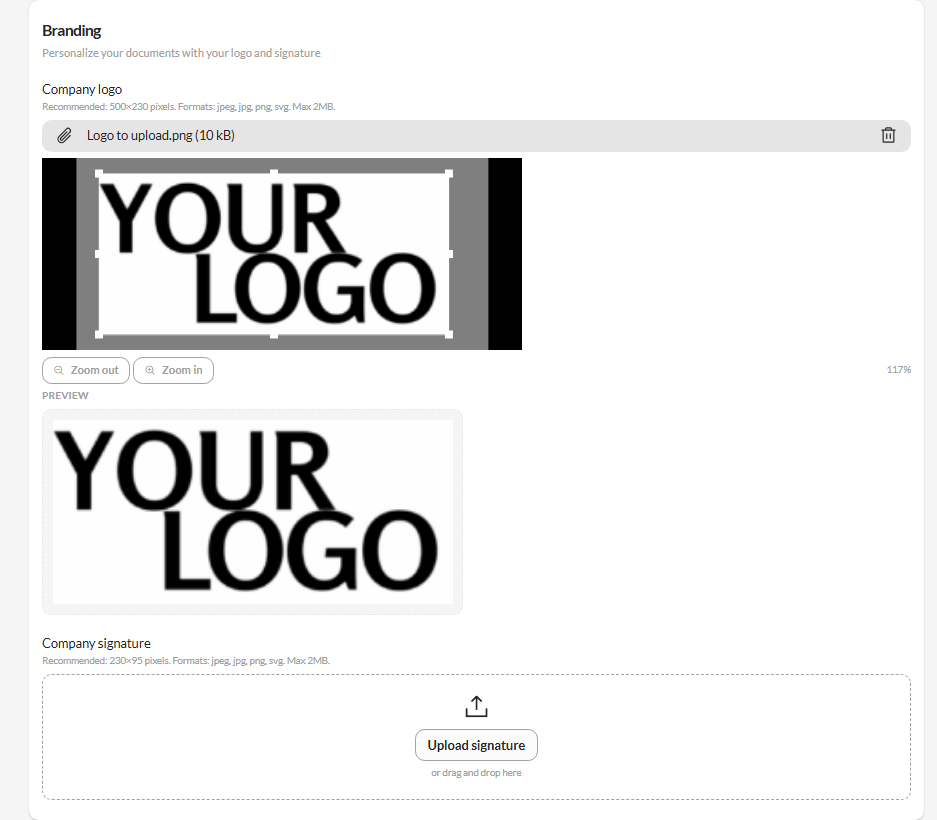
You can delete your current logo by clicking the trash can icon. You’ll then be able to upload a new logo if you want.
If you wish to use the existing logo, please scroll down and choose the Save button.
What size and format should my logo be?
Your logo should be 500×230 pixels. This is to ensure that it looks good on the invoice. You can upload JPG, JPEG, PNG and SVG images, but make sure that the size doesn’t exceed 2MB.
Haven’t got a logo yet? This is how to easily create a logo for your small business.